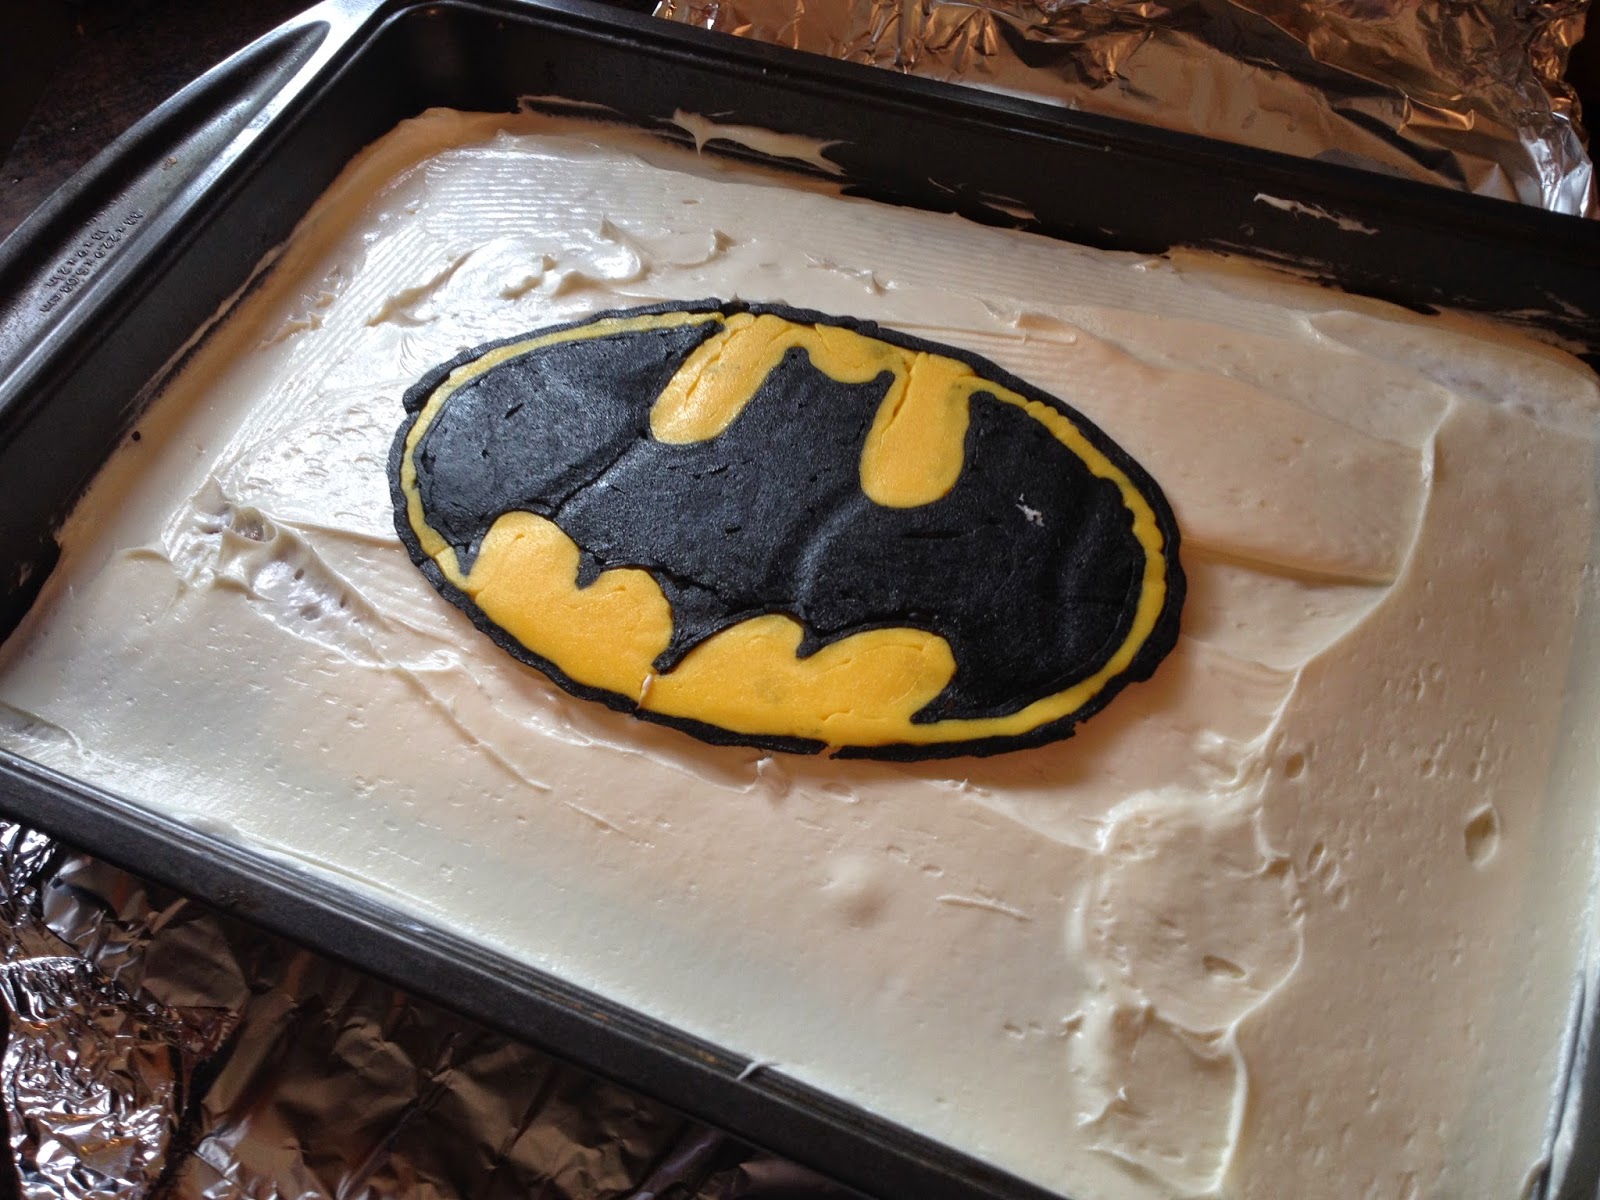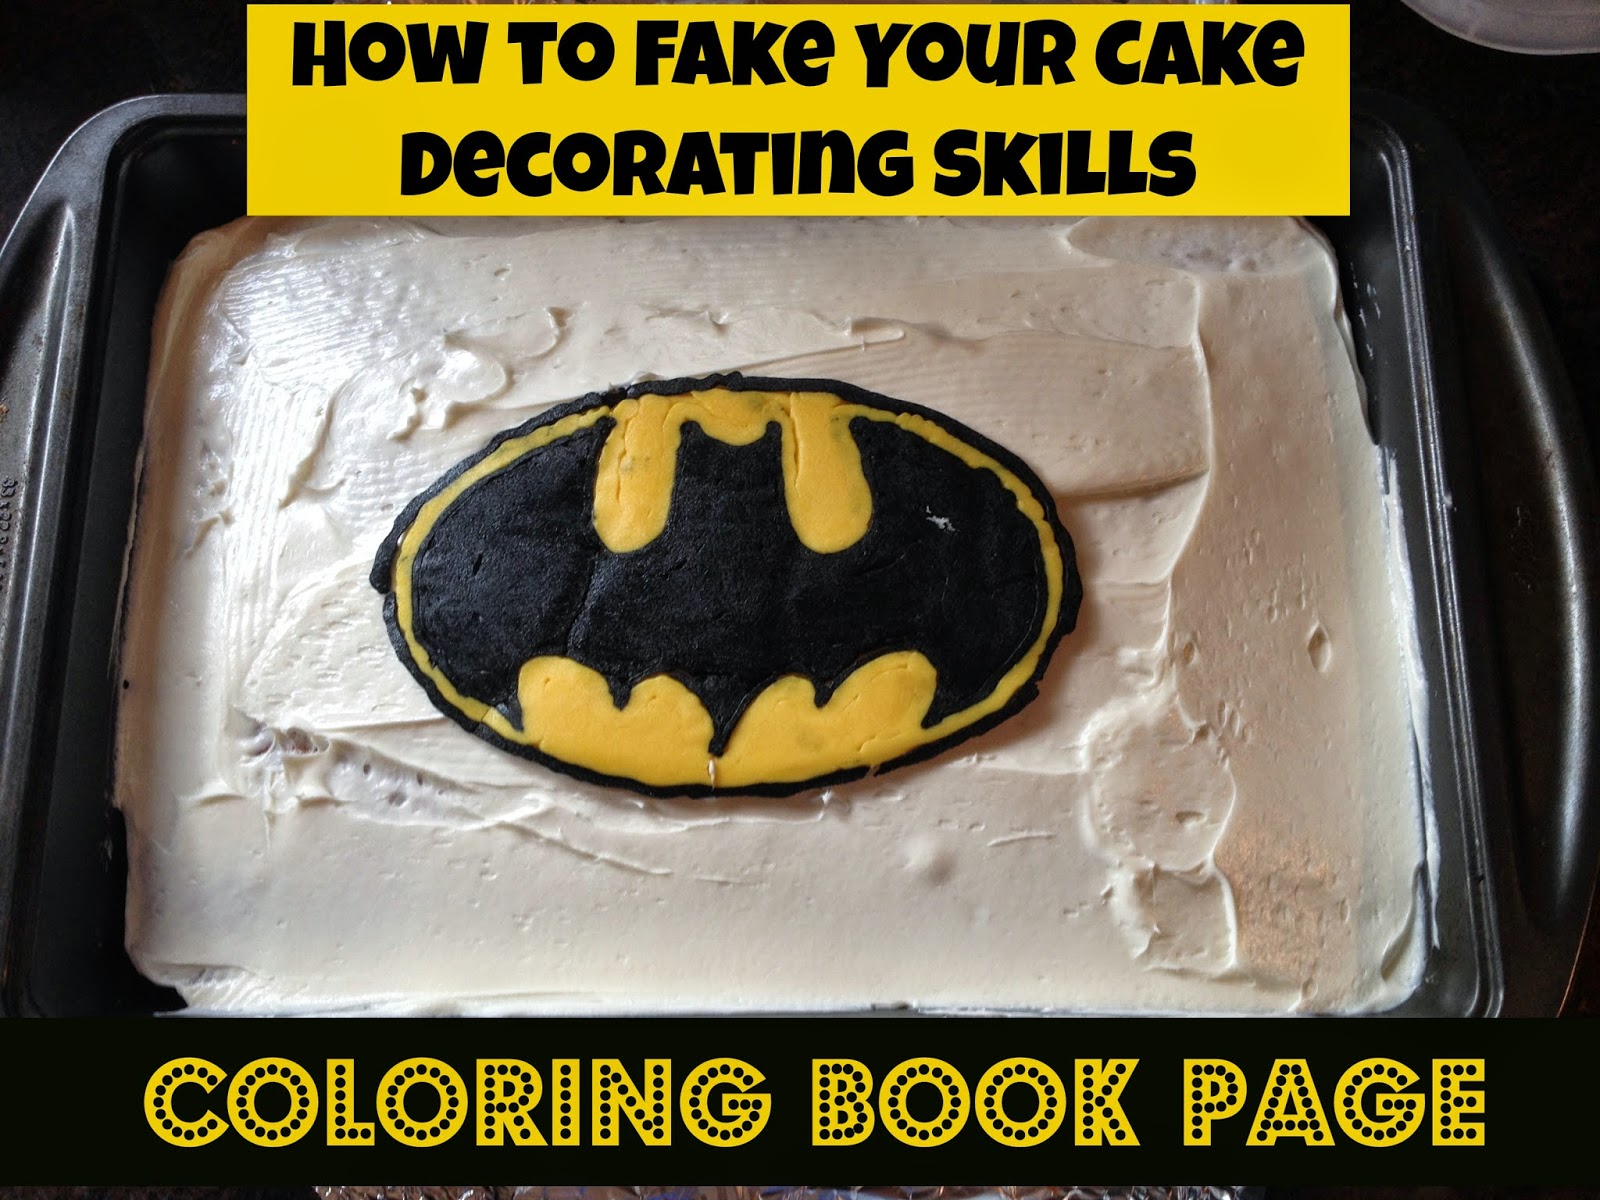
Ohhhh emmmm gee I found the answer at Brass Tacks and Basics! If you have a printer or a coloring book page you can do this. I promise you - you can do it! If I can do it, you can do definitely do it and you don't have to do Batman you can pick any design you want. I may be able to make a mean burlap banner or flip a thrift store dresser, but decorating cakes isn't part of my wheelhouse, I assure you! (Just look at the white icing job...whatevs).
Are you ready to have your mind blown? Start by making a box cake. Hahha...told you! Then get out your store-bought icing to ice the cake like you normally would (told you, again!). Now you're going work on making the DIY icing decorations. In my case, I was making a big batman logo for the center of the cake. You can make these any size and any color. But first things first...
Make a batch of butter cream icing. The recipe I used was from Taste of Home and it froze nicely which is key.
I split my icing in half so I could use the food dye to dye each half yellow and black.
Set your icing aside for a minute. (Or if you're me set it aside for like half an hour while you clean up the bomb that just went off in your kitchen!! Why do I always think it'll be a quick, easy, no-so-messy job with an almost 3 year old?)
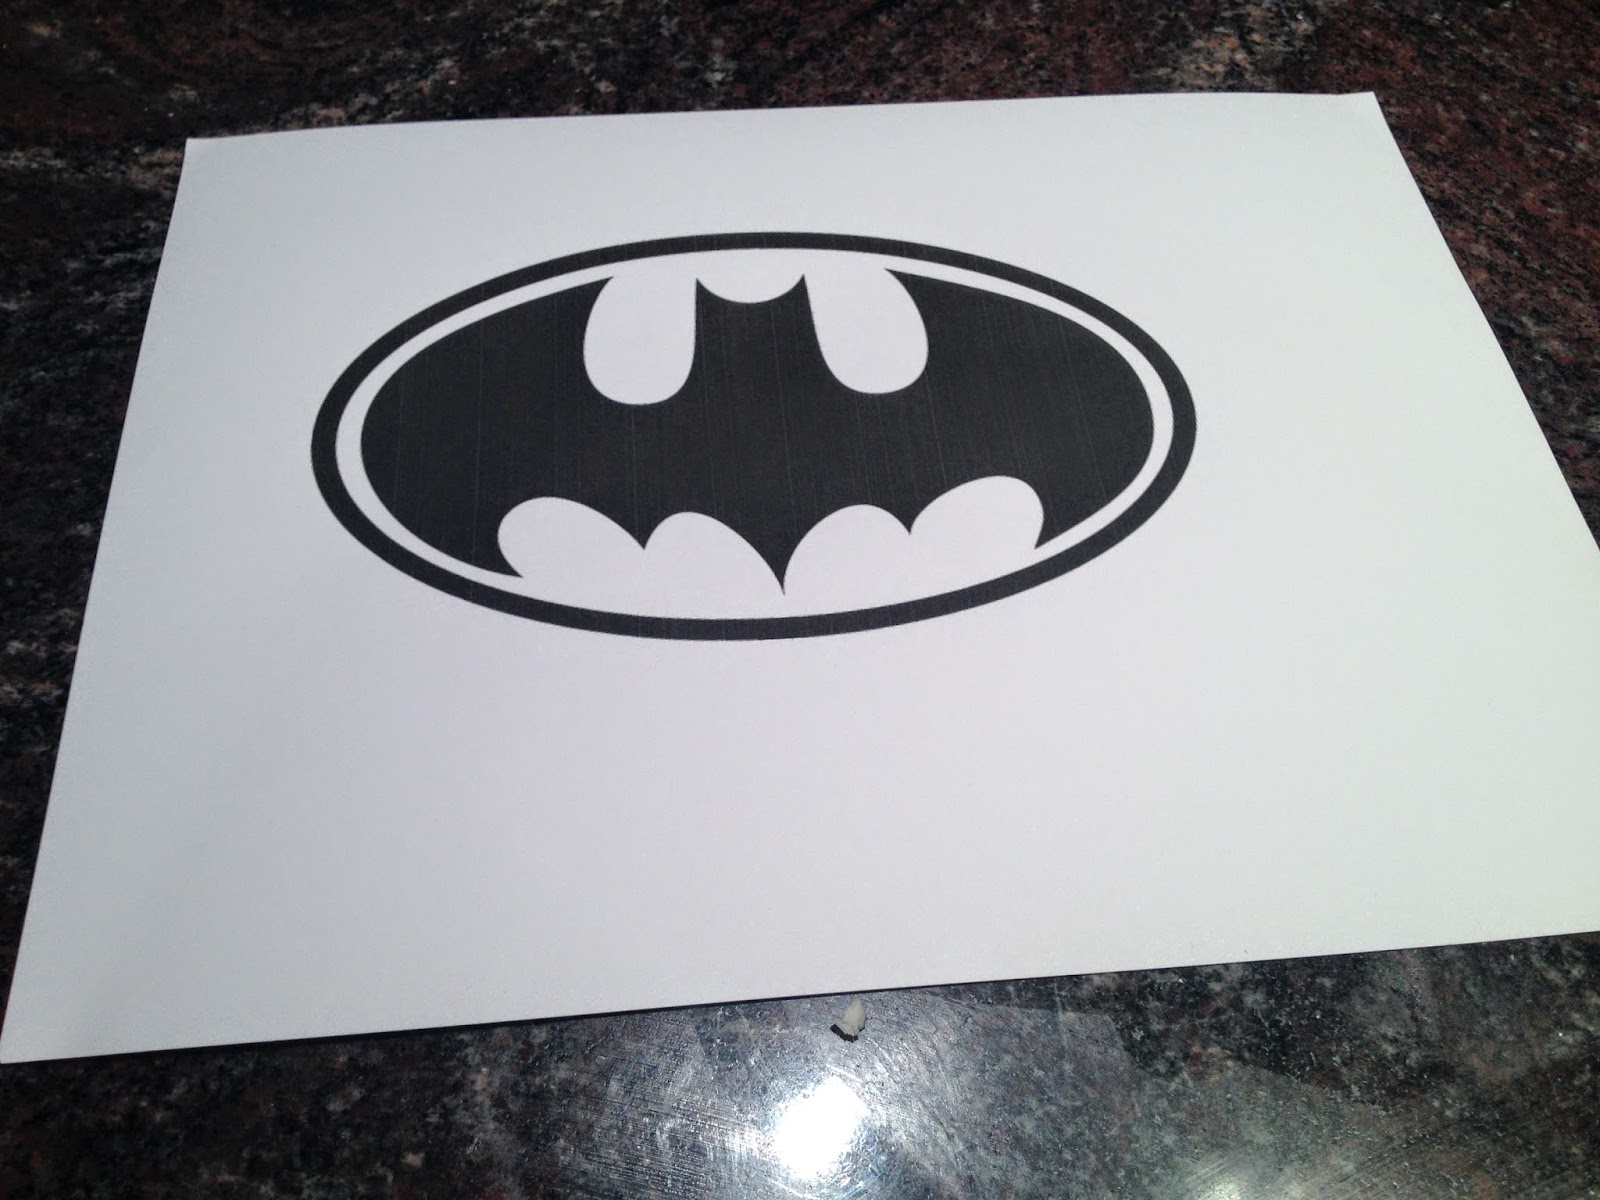
Now do a quick google search for an image you like. You're really looking for an outline of the image...something that looks like it could be a coloring book page. you may even try searching "Printable" along with your keywords. Once you find it, print it out. (You can also use a coloring book page!). Note: If you have any lettering, you'll definitely want to mirror the image since it will be flipped when you put it onto the cake.
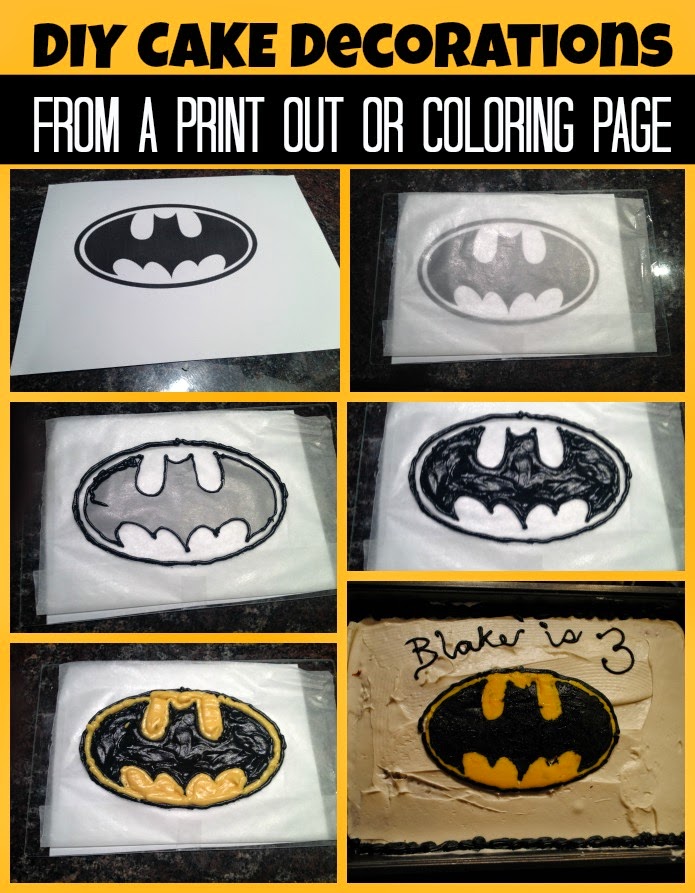
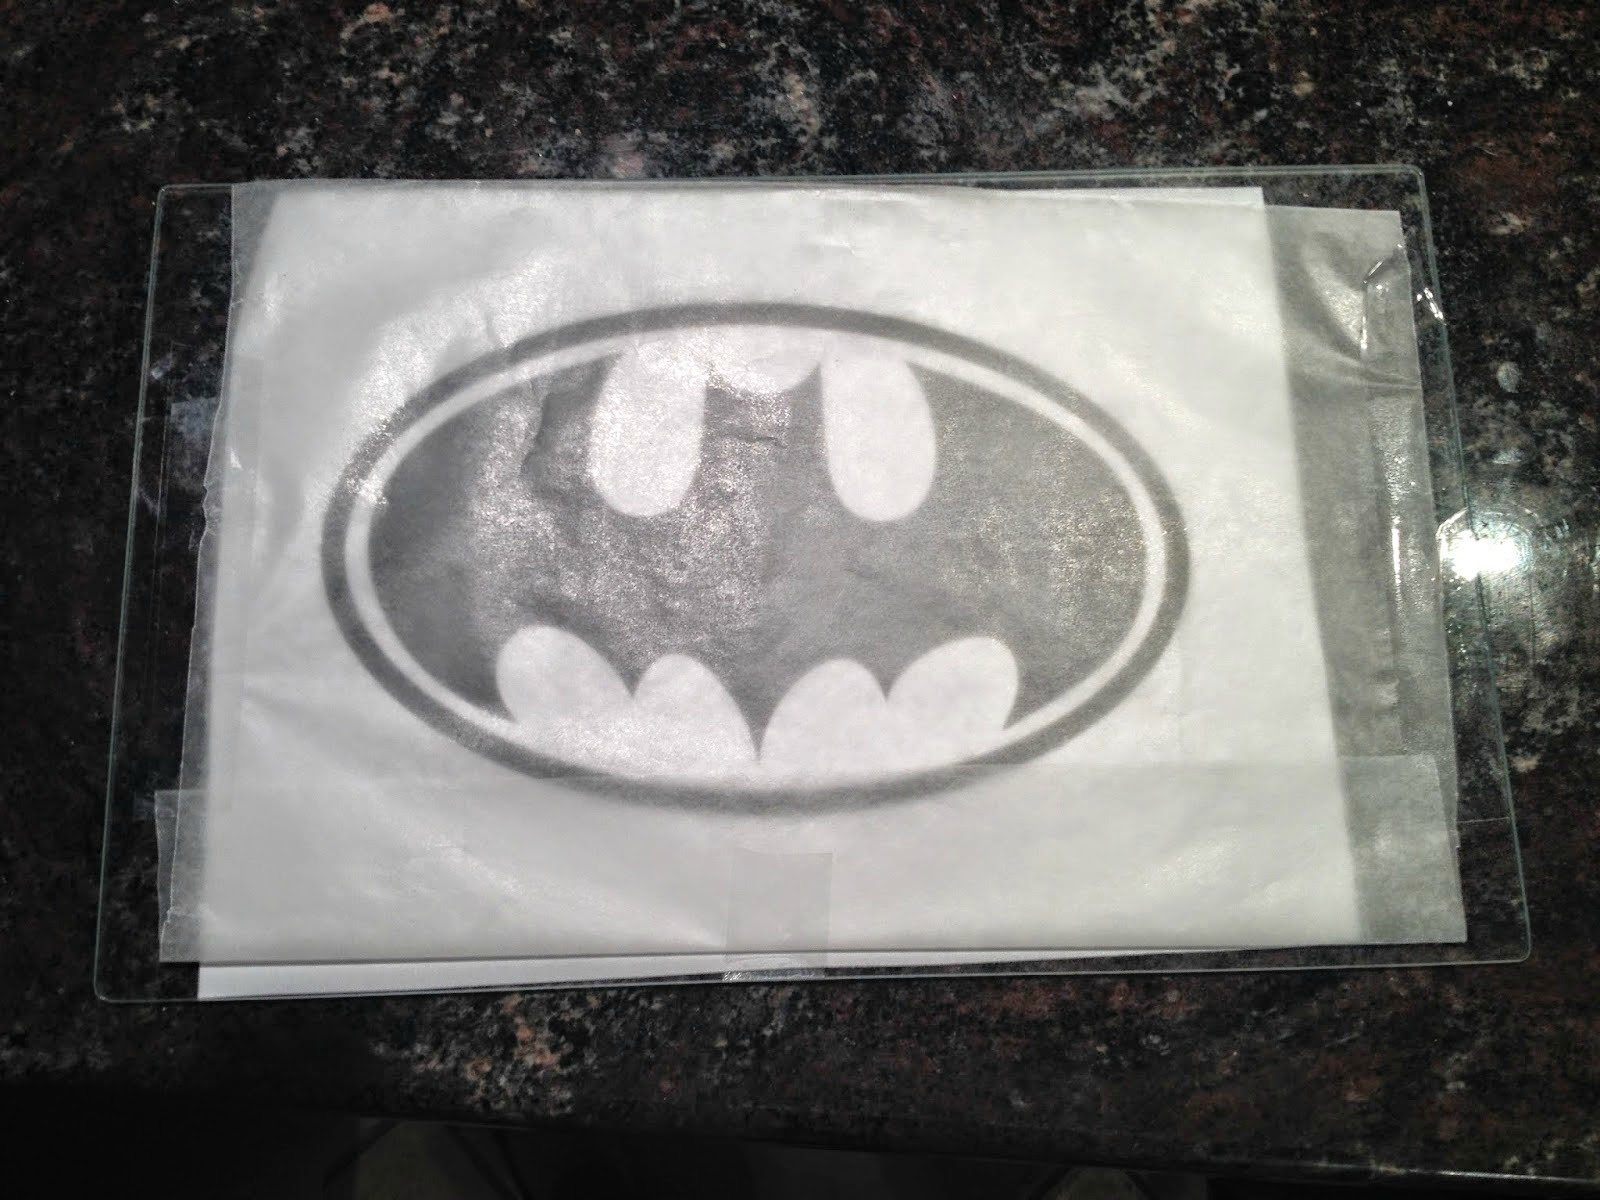
Now grab a piece of glass from an old picture frame. I used an 8x10 piece of glass. You'll also need some wax paper. Trim down your printed image so you can tape it to one side of the glass. You want the printed side touching the glass. On the other side of the glass (so you can see the image through) tape a piece of wax paper. So from the top you should have wax paper, glass, printed image.
Whatever color icing you are using to outline your image - I used black - you will use first. So go ahead and put it in an icing bag. Carefully outline the entire image in icing.
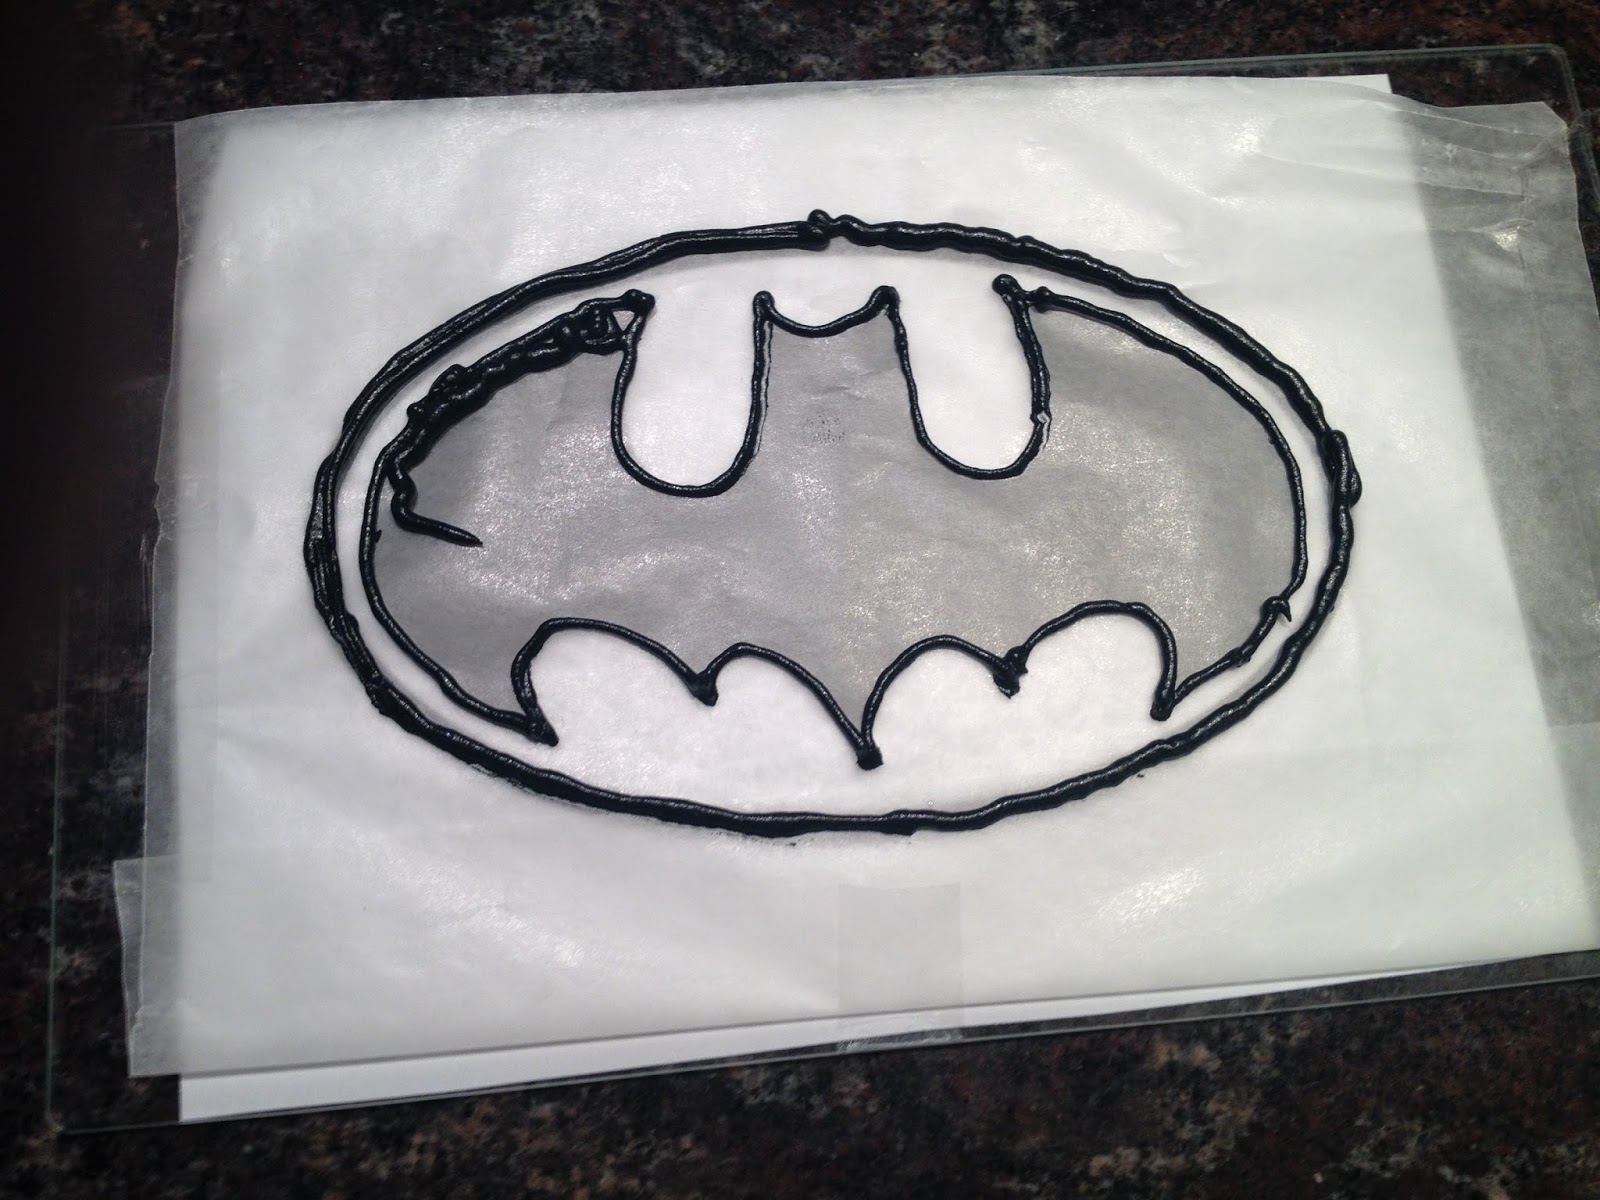
Go in an fill in any details that are that same color.
When you're dong with the first color switch over to the second color icing.
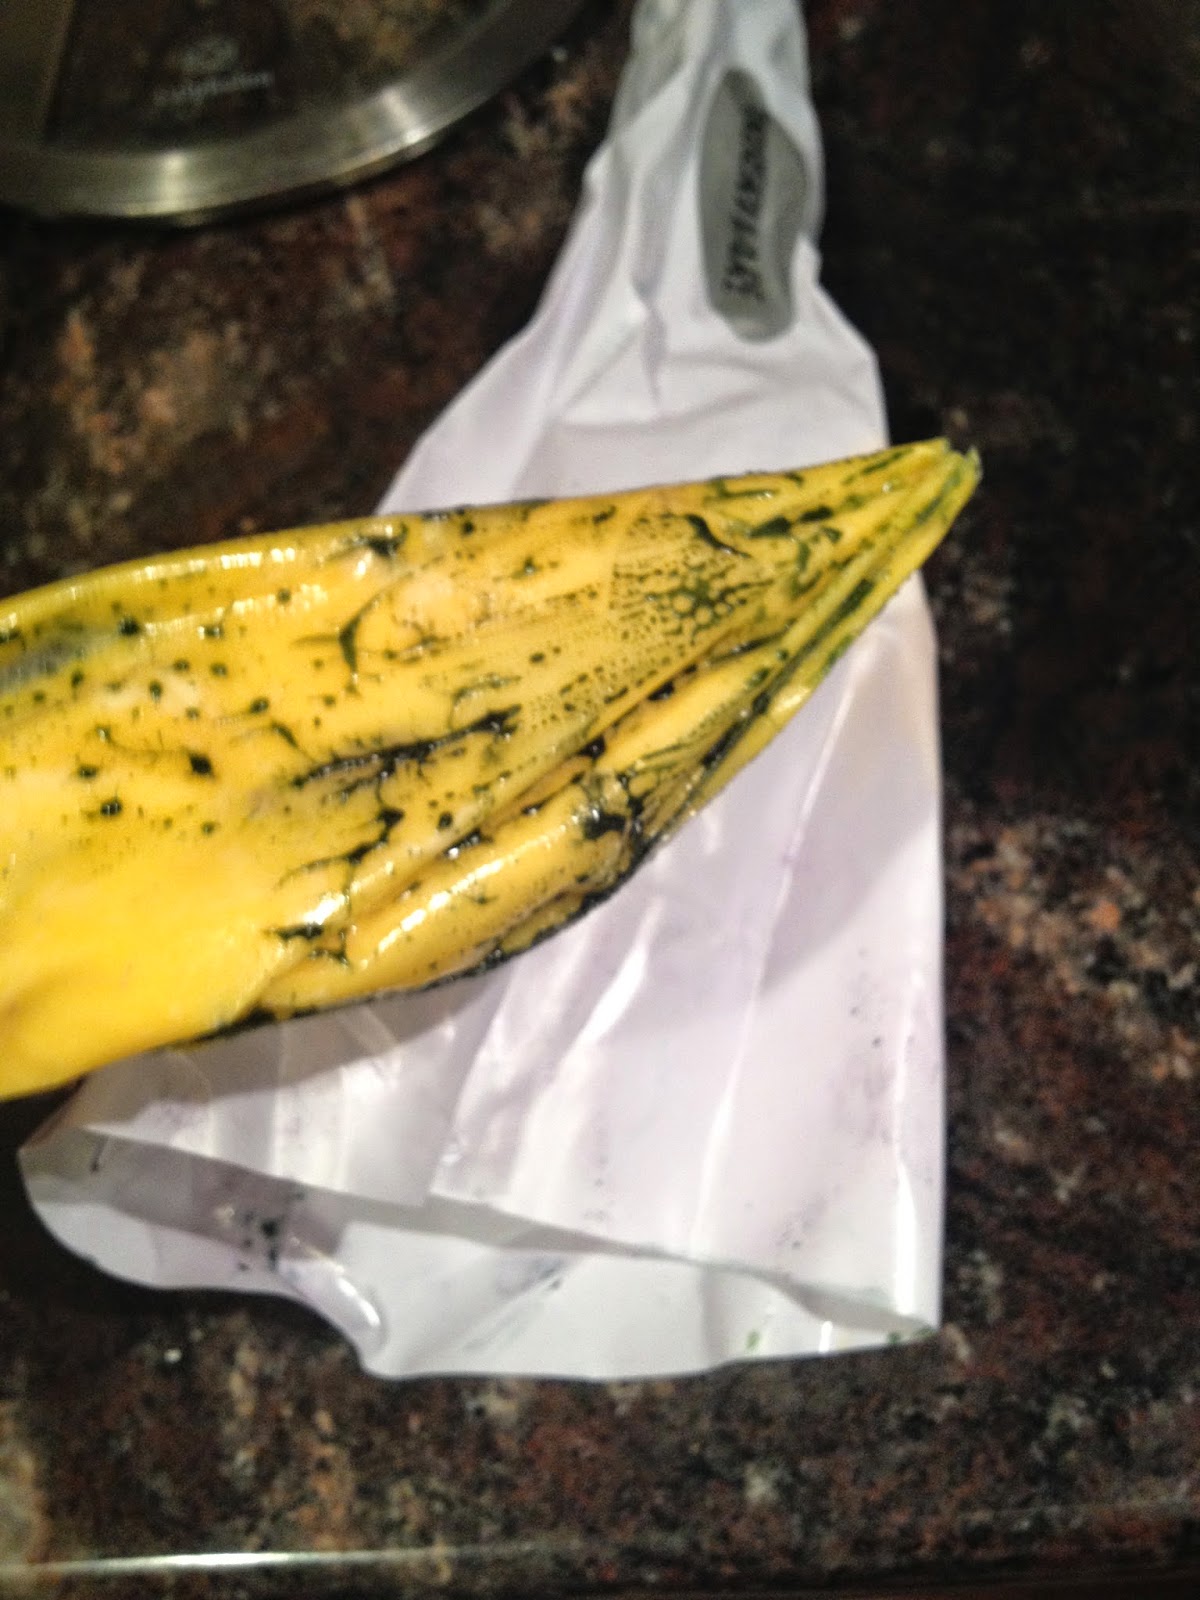
Two things: if you're a beginner, like me, I suggest only using two or three colors of icing on your first go at this; secondly if you don't have two icing bags (I do not) put the second icing in a ziplock sandwich bag. Get all the air out, zip it up, twist one of the corners and then put it into your icing bag. Once the corner of the plastic bag is sticking out the end of the icing bag tip, snip it with the scissors before putting on the decorating tip.


This will prevent the colors from mixing. I had a heck of a time cleaning out that black icing and it kept messing up my yellow..thankfully the bag saved it!
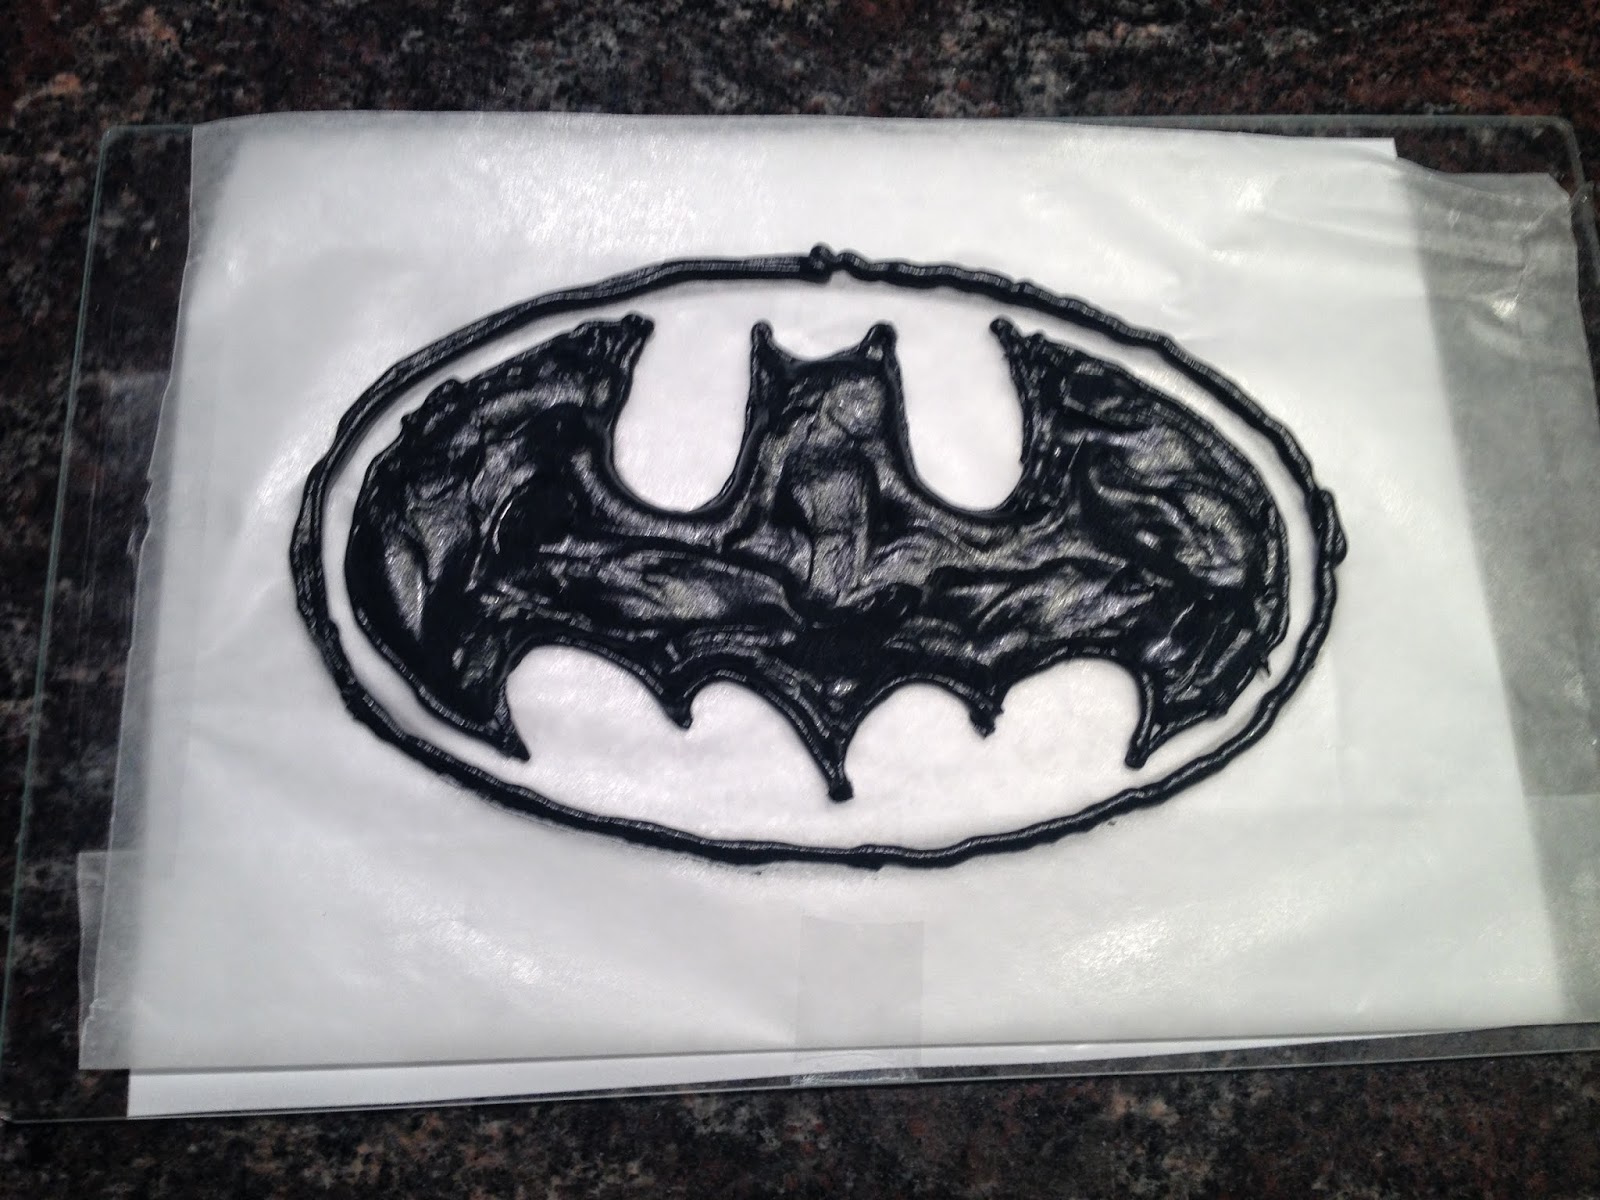
Alright now around your design and fill in the areas using the second color. Fill in any gaps between the colors. Any little spots that are left without icing, you risk a break. Don't be afraid to really gob that icing on there, either. This is not the time to be dainty. It's also fine if the icing is a little bumpy, this is actually going to be the side of the decorating that's down on the cake. What you will actually see will be flat because right now it's against the glass.

It shouldn't take more than 30 minutes to freeze. I left mine in there for several hours. Actually, I made it two days ahead in case I really screwed it up. But after a few hours I stuck the entire contraption in a tupperware to prevent it from getting 1) bumped and broken in the freezer and 2) freezer burn.
When you're ready to move the homemade icing decoration onto the cake (make sure it's frozen enough that it's hard to the touch) carefully remove the glass layer keeping the wax paper and icing decoration together. Then gently flip the design over onto the cake and press it down slightly so it gets stuck on the cake and icing while you gently peel off the wax paper layer. You need to work carefully, but quickly since the icing will start to defrost pretty quickly. (Apologies that I don't have a photo of that step for you...if I only I had a third arm.)