
So there's good news and bad news. The good news is the laundry room/closet makeover is complete. The bad news is the washer decided to conk out completely about 3.2 seconds after I added the final touch and now we are shopping for a new washer. I really wasn't planning to take the laundry room makeover that far - after all I was on a $100 budget here - but when life gives you
That being said....I could not wait a minute longer to finally reveal my new laundry room.
When I say "room" I am being extremely generous, this is a closet in every sense of the word. From the hall way you can can get a sense of just how small this space really is...basically it's just the width and depth of the washer and dryer.

Let's start with a little reminder of what my laundry closet used to look like. Yikes is right!!
.JPG)

Can you believe I spent only $45? Even I'm kinda shocked. My biggest expense was the two baskets at the top - one of which is still empty! Even the cabinet cost less and I only splurged on the baskets because I was so under budget I figured 'why not?'
Here's how I did it. I started by taking down the single - and pretty much useless - shelf. It was way too high for me to even reach and therefore I had to keep the laundry detergent on top of the dryer which just left a mess. So I took down the shelf and painted the entire closet. I used leftover paint from the master bathroom so my cost for paint was $0.
My initial plan was to center the cabinet which is why I left a big unpainted area, but because of where the studs were and how far out the drying rack extended when open, we had to move the cabinet to the right side.

The cabinet I picked up for $15 at the thrift store. I turned some white paint we had on hand into DIY chalk paint and used it to paint the entire cabinet. The inside was lined with a combination of burlap and beadboard wallpaper. And a quick coat of black spray paint on the hardware was all the pulls needed. You can see the full cabinet transformation in detail and tips for hanging a cabinet here.


Once the cabinet was hung, I could then re-use the shelf to extend across the top for even more storage.
The baskets I grabbed at Michaels during a 50% off sale - they cost me $7.99 each. One holds extra toilet paper for the upstairs bathrooms and the other is still empty! (Suggestions??)
The 15" clothes pin was a steal and a definite impulse buy, but I couldn't pass it up for $2.50!

I used my Silhouette to create the 3D WASH letters and then decorated them with washi tape (which I got on a huge discount on Pick Your Plum).

On the left wall I have a drying rack. It was once a floor standing drying rack that I converted to be a wall mounted laundry rack. The full tutorial for the floor to wall mount drying rack is here.

I love that it collapses to the wall when it's not in use. Even more - I love that keeps bathing suits and unmentionables from hanging all over the door knobs on the second floor. Everything's now behind the laundry room doors!

And here it is closed...

For added drying space I bought a $5 over-the-door hanger which can accommodate about 8-10 hangers although I've never needed that many. Even when it's fully extended the door can be closed. Here's a view from the inside when the door is closed.

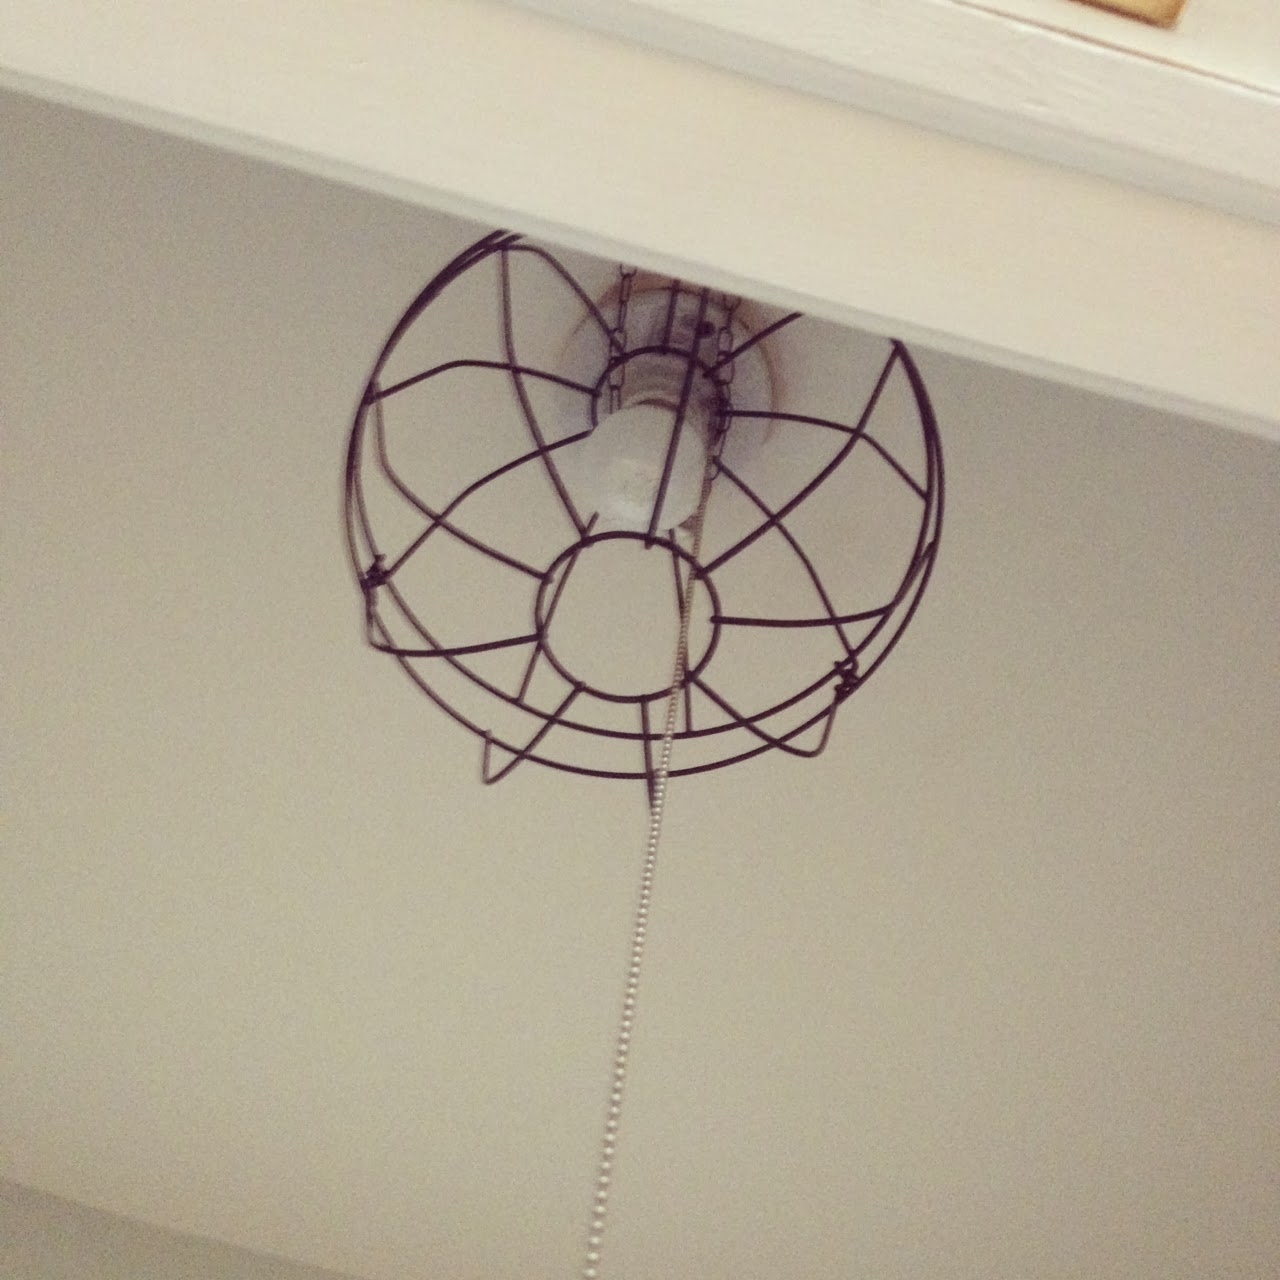
I even updated the ugly exposed light bulb. For just $2 I used a pair of Dollar Store garden baskets to create a DIY industrial-style light fixture.
So if you're keeping track I spent less than $50 to redo the entire laundry room and went from low efficiency to high efficiency and organization! I couldn't be happier with the end result...except, of course, if I didn't have to bust my budget on a new washer!

Thanks for stopping by 2IY! If you like what you see, we'd love for you to pin it!


