It's always a good day at Two It Yourself when I have an awesome and easy knockoff project for you AND a giveaway! Let's get straight to business...basically because I just can't wait any longer to show you how easy the DIY version is to make thanks to the BLACK+DECKER AutoSense drill.

The first thing I did was disassemble a wood pallet. This takes some elbow grease..and a crowbar or at least the back end of a hammer. The planks from this pallet were only 3.5" wide so I used six of them for this sign. If you have the wider pallet wood (like the wide piece still attached to the pallet here), you probably only need four. They each measured about 39.5" long...so you can see this is a big ol' sign.

Once I had my six pieces I arranged them so the edges were staggered..then rearranged them...then again and again...until I finally came up with the perfect stack. I flipped them all over so the backs were facing up. TIP: Any nails that didn't come out when you were pulling the wood pieces off the pallet, just bang them down flat into the wood.

This next step is what usually takes me the longest and that is attaching to pieces of cross wood along the back to keep the wood sign together. I just so happen to have two extra long wood paint stirrers that I had snagged from the hardware store a few months back and wouldn't you know they were exactly the right length! I love when stuff like that works out oh so perfectly. It honestly was a bright spot in what otherwise was a pretty rough day...but that's another story.

I positioned the connector pieces of wood and then I got my twelve screws ready: one for each piece of wood times two sides. I decided this project was the perfect one to try out my new BLACK+DECKER AutoSense Cordless Drill. So I got her out of the box...ugh, but I never charged the battery. There goes 24 hours wasted...but wait!


This BLACK+DECKER drill is super smart and super easy to use. Okay so not only is it lightweight (love) and cordless (love even more), it senses when the screw is perfectly tight and automatically stops so the drill doesn't clutch out preventing damage to the wood and the screw. No more stripped screws, no more split wood from over-torquing, no more hand tightening. I literally put all twelve screws into the back of this wood sign in less than two minutes - and that was with the "help" of my little assistant.

Once the screws were all in and the sign was held together, it was just a matter of sanding down the front of the sign to remove any splinters. (Yup, I'm a BLACK+DECKER girl!)

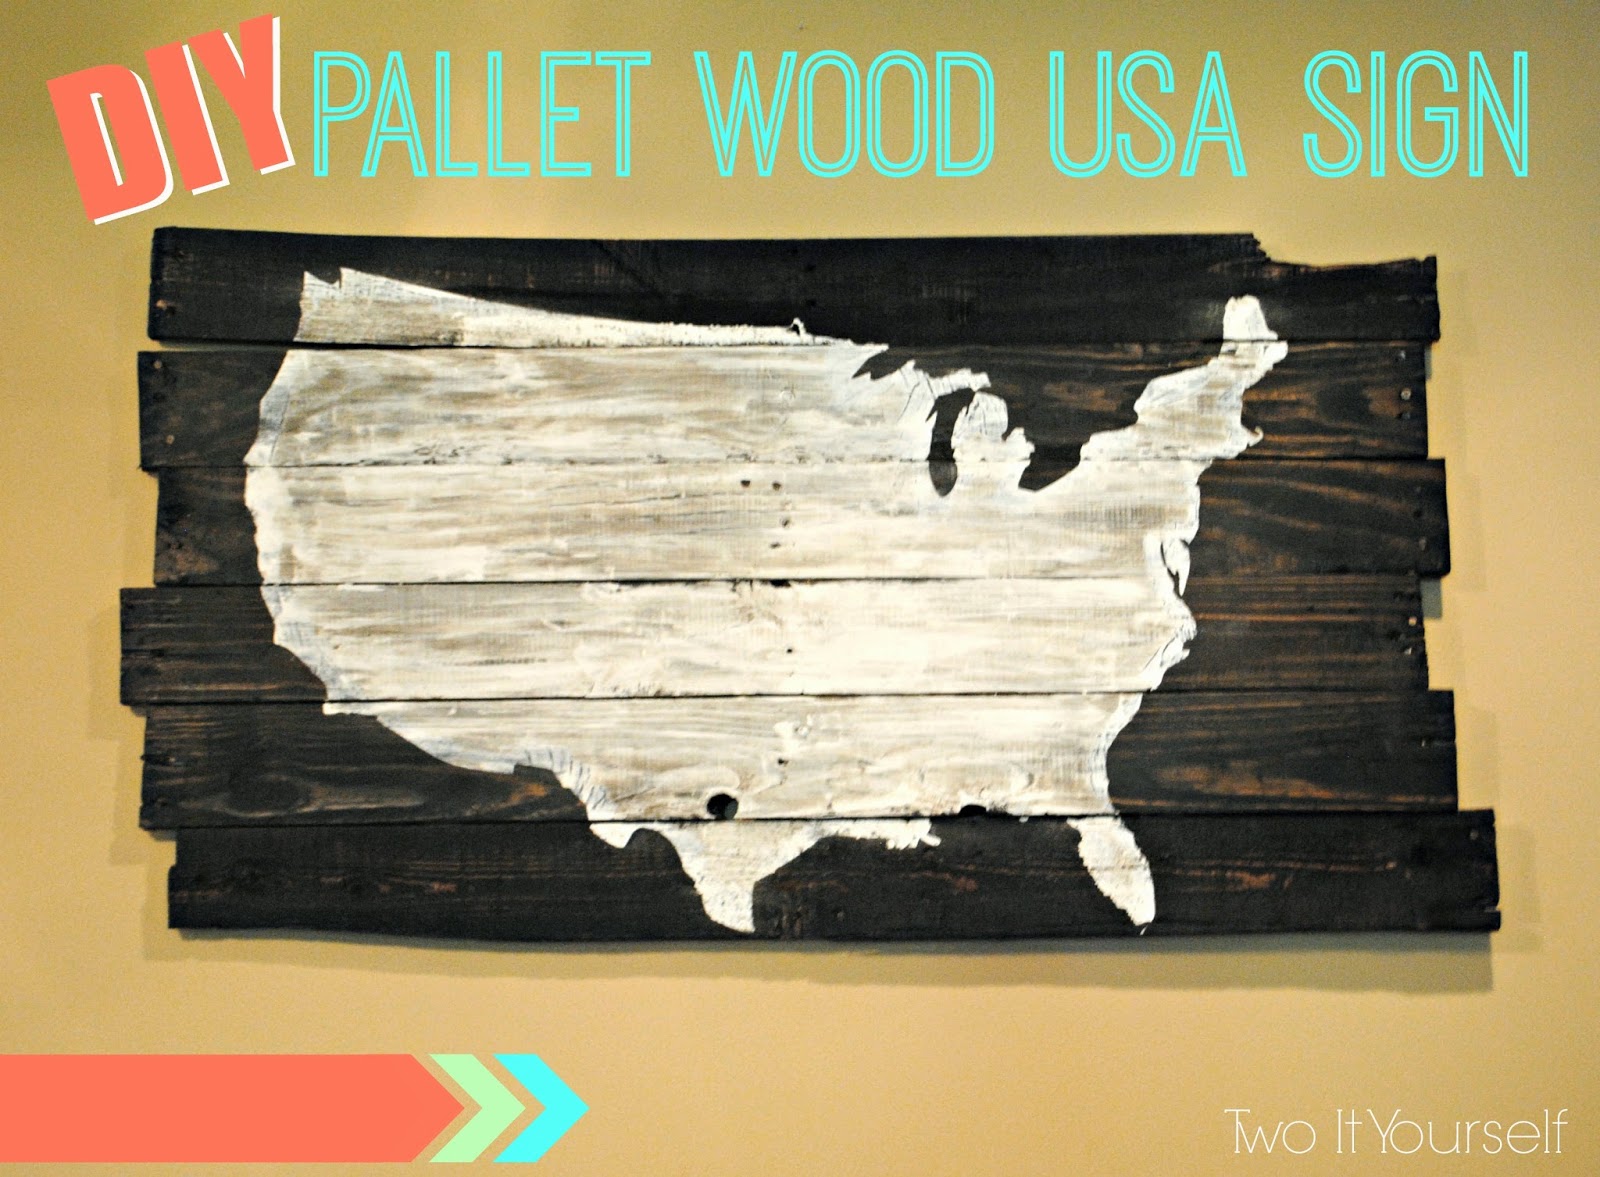
I put two coats of stain on...and once that was dry, laid down the large USA stencil I cut on my Silhouette.


Once the paint was dry, I just gave the entire piece a light sand by hand and then she was ready to hang!

I didn't pay a cent for this sign, since I had everything I needed on hand. But even if you had to buy a few supplies like paint and screws, the cost would be minimal. Certainly no where near the $350 price tag of the original Pottery Barn version.

Oh and there's more good news...you can win your own 20V MAX Lithium Cordless Drill/Driver with AutoSense Technology!!

I'm giving one away right here, right now! All you have to do to enter is check out the five fabulous smart features of the drill here and then leave a blog comment below telling me which feature is your favorite and how it would make your DIY projects and/or home improvement projects that much easier!
The contest closes June 30 at 11:59 pm EST. ...open to US/Canada residents only.
And special thanks to BLACK+DECKER for sponsoring today's discussion!
Thanks for stopping by 2IY! If you like what you see, we'd love for you to pin it!


